
How to Clean a Wolf Oven: The Professional Guide for Safe, Effective Results
In this article
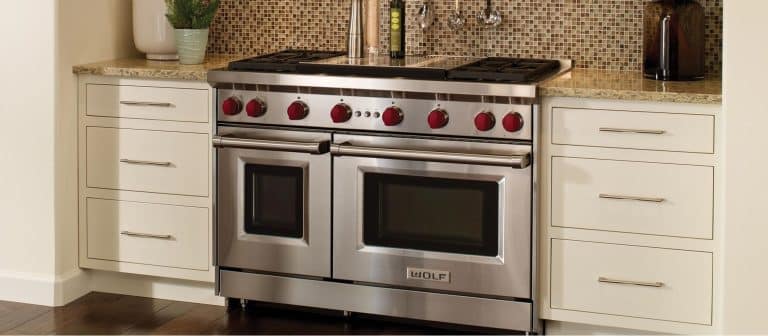
If you're looking for a trusted method on how to clean a Wolf oven, you've come to the right place. At Allsafe Appliance Repair, we’ve serviced hundreds of Wolf ovens and know exactly what works — and what causes damage.
This high-performance appliance deserves the right care to stay in peak condition, and we’re here to walk you through how to clean a Wolf oven expertly and efficiently, ensuring it operates flawlessly.
⚠️ Warning: Avoid the Self-Cleaning Cycle
Wolf ovens come equipped with a self-cleaning feature, but we strongly caution against using it.
Here’s why:
- The cycle reaches extreme temperatures (up to 900°F), which can cause critical damage to internal parts like control boards, thermal fuses, and door mechanisms.
- Many of the repair calls we receive are the direct result of failed components due to self-cleaning.
- These repairs are often costly and not covered under standard warranties.
How to clean a Wolf oven the right way means avoiding the self-clean mode and sticking with safe, manual methods. Let’s dive into the step-by-step process.
Step-by-Step Instructions: How to Clean a Wolf Oven
1. Power Down and Allow to Cool Completely
Start by turning off the oven and unplugging it from the power source. If it's a hardwired unit, switch off the circuit breaker. This ensures your safety while cleaning. Wait until the oven has fully cooled to avoid burns and to allow cleaning products to work more effectively without evaporating too quickly.
2. Remove Racks, Probes, and Accessories
Take out all interior components:
- Oven racks
- Broiler pans
- Temperature probes
- Any additional accessories
Soak racks and pans in warm, soapy water or spray with a stainless steel-safe degreaser. Let them sit for 15–20 minutes before scrubbing with a soft-bristled brush or sponge. Rinse thoroughly and let them dry completely before reinstallation.
3. Prepare a Safe, Non-Toxic Cleaning Paste
To clean the porcelain interior without damage, mix:
- ½ cup baking soda
- 3 to 4 tablespoons of water
Adjust quantities until you get a spreadable paste. This natural solution is powerful enough to break down grease and food residue without harsh chemicals or risk to the oven’s interior.
Want a little extra cleaning power? Add a few drops of dish soap to the paste — but avoid any cleaners that contain bleach or ammonia, which can corrode surfaces or produce harmful fumes.
4. Apply the Paste Throughout the Interior
Using a soft cloth, silicone spatula, or sponge, spread the baking soda paste over the entire oven cavity:
- Walls
- Floor
- Back panel
- Inside of the door
Be careful to avoid heating elements, fans, and lights, as these components can be damaged by direct contact with paste or moisture. For stubborn spots or baked-on spills, apply a slightly thicker layer of paste.
5. Let the Paste Sit Overnight
Allow the paste to sit for at least 12 hours — or overnight for the best results. During this time, the baking soda will work to loosen grime, absorb odors, and lift stains from the enamel surface.
Pro tip: Leave the oven door cracked open slightly and place a dish towel underneath to catch any drips.
6. Wipe Away the Residue
After the paste has dried, use a damp microfiber cloth or sponge to wipe away the residue. This may take a few passes.
For any remaining film or residue:
- Lightly spray white vinegar over the surface
- Let it fizz with the leftover baking soda
- Wipe clean with a fresh, damp cloth
This neutralizes the baking soda and adds shine while removing any lingering odors.
7. Clean the Oven Door and Control Panel
For the oven door interior, use:
- A vinegar-water solution (1 part vinegar to 1 part water)
- A soft microfiber or glass-safe cloth
For the control panel, never spray directly onto the electronics. Instead, spray cleaner onto a cloth and gently wipe down the area to avoid liquid seeping into sensitive components.
8. Dry All Surfaces and Reassemble
Before plugging the oven back in or turning on the breaker, ensure:
- All surfaces are completely dry
- The oven cavity is free of cleaning residue
- Racks and accessories are dry and reinstalled properly
Leave the oven door open for 20–30 minutes to let residual moisture evaporate fully. Only then should you restore power to the appliance.
Final Tip: Stick to a Monthly Oven Cleaning Routine
Now that you know how to clean a Wolf oven, the best way to keep it looking and performing like new is to stick to a monthly maintenance schedule. Regular cleaning prevents buildup of grease, food residue, and odors — making each cleaning session quicker and more effective.
Set a reminder once a month to wipe down the interior, clean the door glass, and inspect your oven for any signs of wear. Preventative care is the simplest way to extend the life of your Wolf appliance and avoid unnecessary repairs.
Need help maintaining your oven? Our oven repair specialists at Allsafe Appliance Repair offer expert, in-home service to keep your kitchen running like new.